The Art of Crafting Toy Storage Buckets with Rope Handles
Toy storage buckets with rope handles serve as both functional storage solutions and charming decorative pieces in any child’s room. Delve into the fascinating process of crafting these versatile containers, exploring each step in detail.
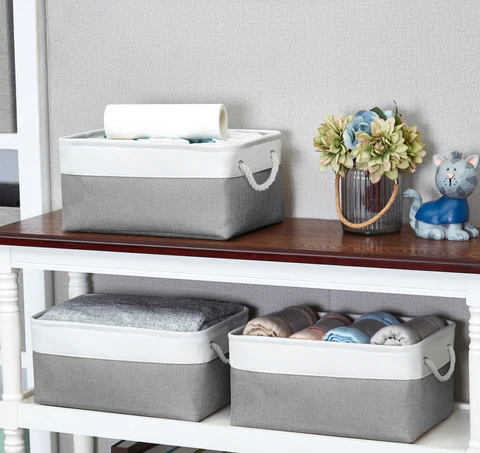
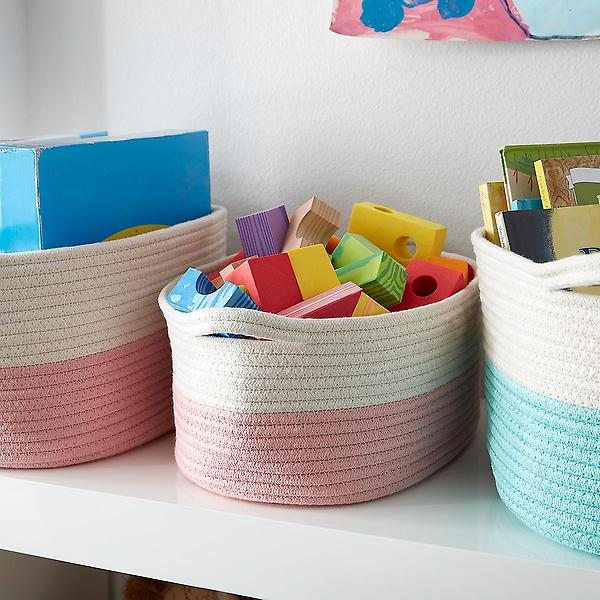
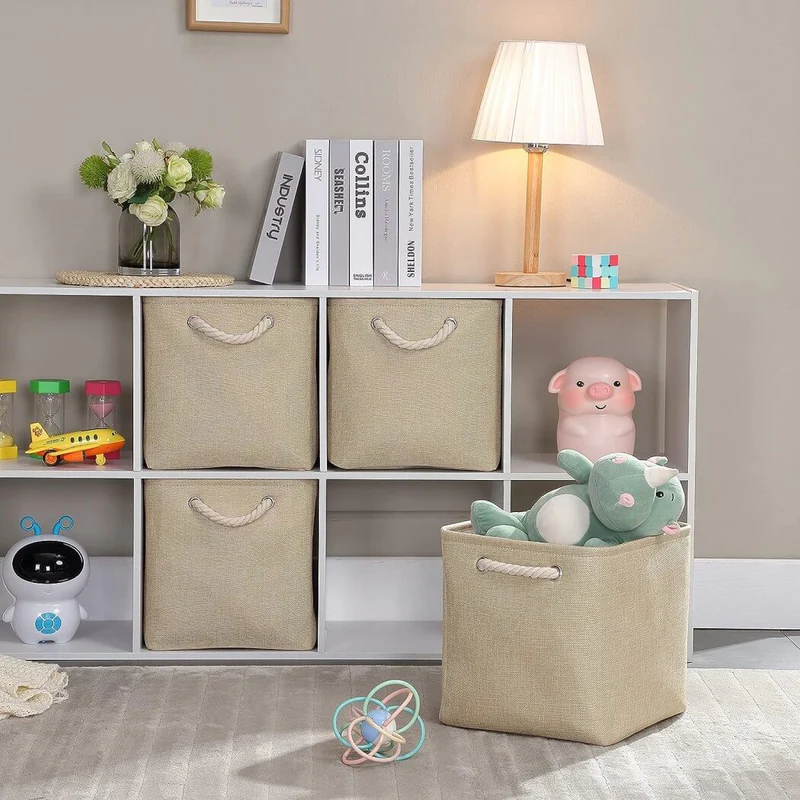
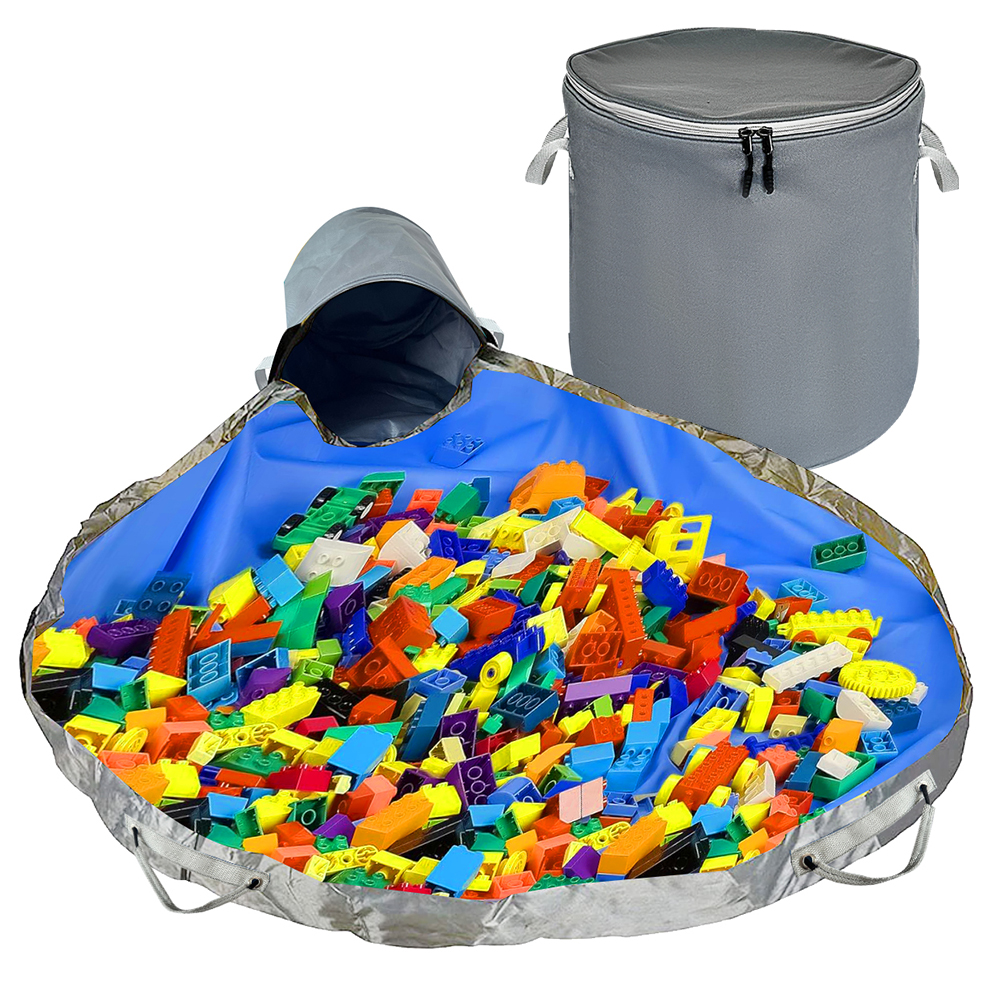
Toy storage buckets with rope handles are typically made using a combination of durable materials such as canvas, cotton, or even recycled fabrics. These materials are chosen for their sturdiness and ability to withstand the weight of toys. The process involves several key steps, from selecting the materials to adding finishing touches.
Join me on a journey through the intricate process of crafting toy storage buckets, where each step is essential in creating a durable and stylish storage solution for your child’s treasures.
1 Selection of Materials
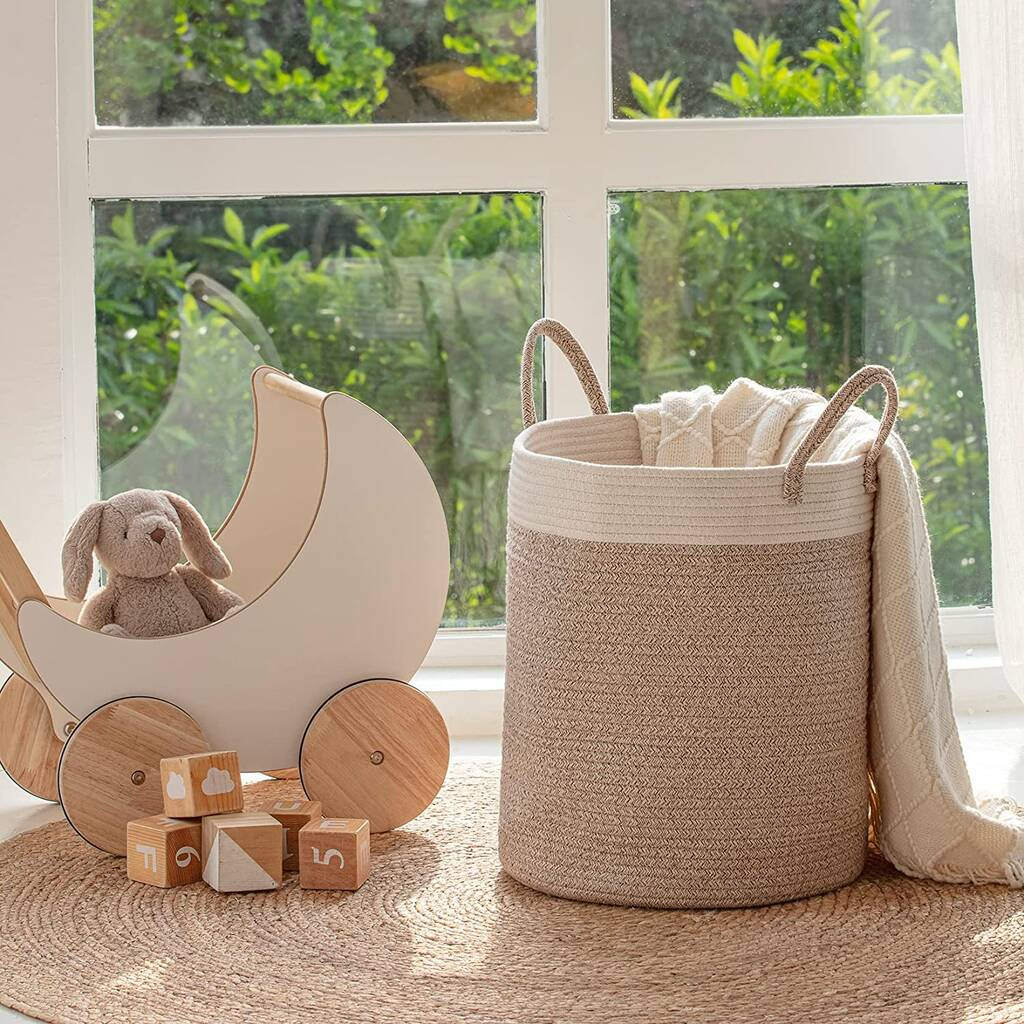
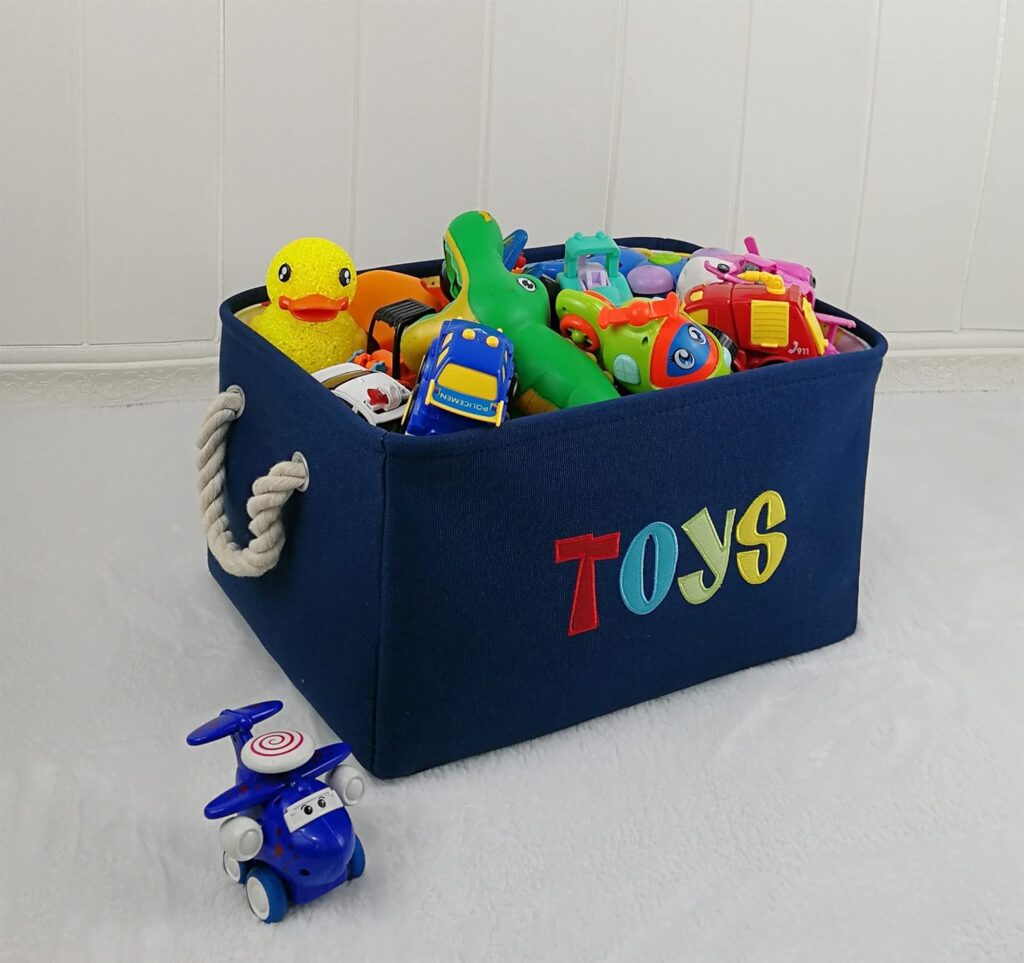
To begin crafting a toy storage bucket with rope handles, the first step is to carefully select the materials. High-quality canvas or cotton fabric is commonly chosen for its durability and ability to hold its shape. Additionally, the fabric should be washable to ensure easy maintenance. The rope handles are typically made from sturdy cotton or nylon ropes, providing both strength and a rustic aesthetic.
2 Cutting and Preparing Fabric
Once the materials are chosen, the fabric is carefully measured and cut to the desired size. Precision is key in this step to ensure uniformity in the final product. The fabric pieces are then prepared by hemming the edges to prevent fraying and enhance durability.
3 Sewing the Bucket Body
Next, the fabric pieces are stitched together to form the body of the toy storage bucket. This involves sewing along the edges with a sewing machine or by hand, depending on the manufacturer’s preference. Reinforced stitching is often used to ensure the bucket can withstand the weight of toys without unraveling.
4 Attaching Rope Handle
After the bucket body is assembled, the rope handles are attached. Small holes are punched or stitched along the top edge of the bucket, evenly spaced apart. The rope handles are then threaded through these holes and securely knotted on the inside of the bucket. This step requires precision to ensure the handles are properly aligned and securely attached.
5 Adding Decorative Elements
To enhance the aesthetic appeal of the toy storage bucket, decorative elements can be added. This may include appliqué designs, embroidered motifs, or personalized monograms. These embellishments not only add visual interest but also make each bucket unique and special.
6 Quality Control and Finishing Touches
Before the toy storage bucket is complete, it undergoes a thorough quality control inspection. Any loose threads are trimmed, and the seams are checked for strength and durability. Finally, the bucket is given a final press to ensure a crisp, professional finish.bucket unique and special.
Crafting toy storage buckets with rope handles is a meticulous process that requires attention to detail and craftsmanship. By following each step carefully, manufacturers create durable and stylish storage solutions that add both functionality and charm to any child’s room. Invest in a handmade toy storage bucket to keep your child’s toys organized in style.