Are you tired of your children’s toys cluttering up the house? Crafting your own toy fabric storage box can be a fun and practical solution. Not only does it help keep toys organized, but it also adds a personal touch to your home decor. In this guide, I’ll walk you through the process of sewing your own toy fabric storage box, allowing you to tailor it to your specific needs and style preferences.
Looking to declutter your space while adding a touch of creativity? Sewing your own toy fabric storage box is the perfect solution. By following these simple steps, you can create a customized storage solution that not only keeps toys organized but also adds a decorative flair to any room.
Let’s dive into the step-by-step process of sewing your own toy fabric storage box.
1 Choosing Your Fabric
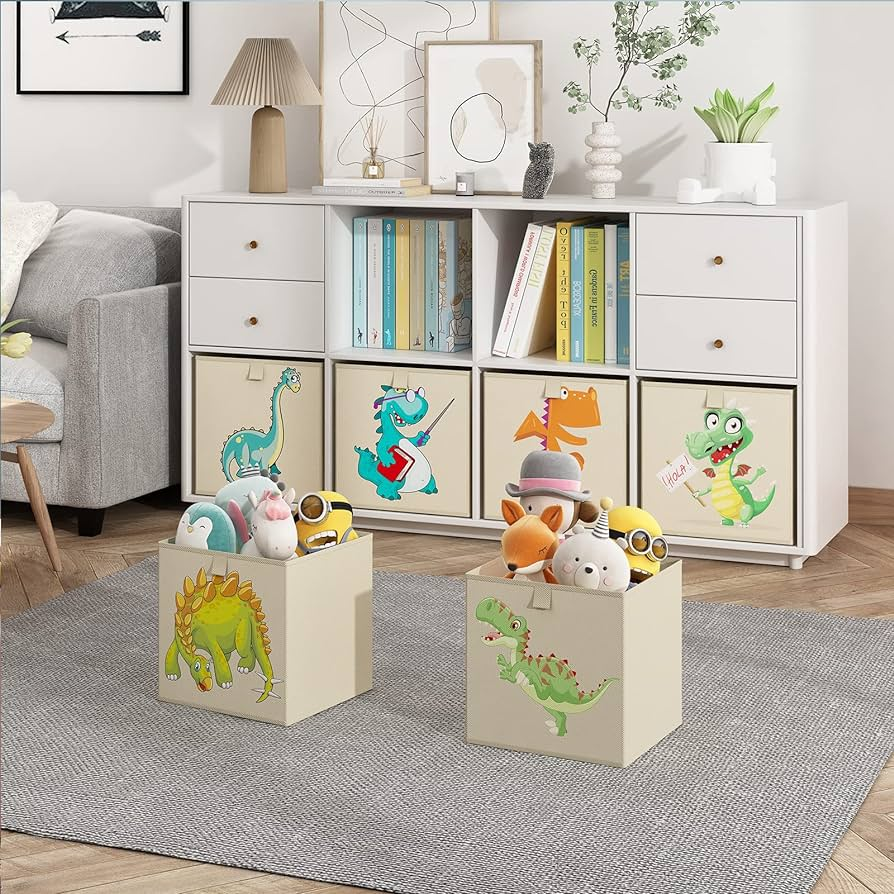
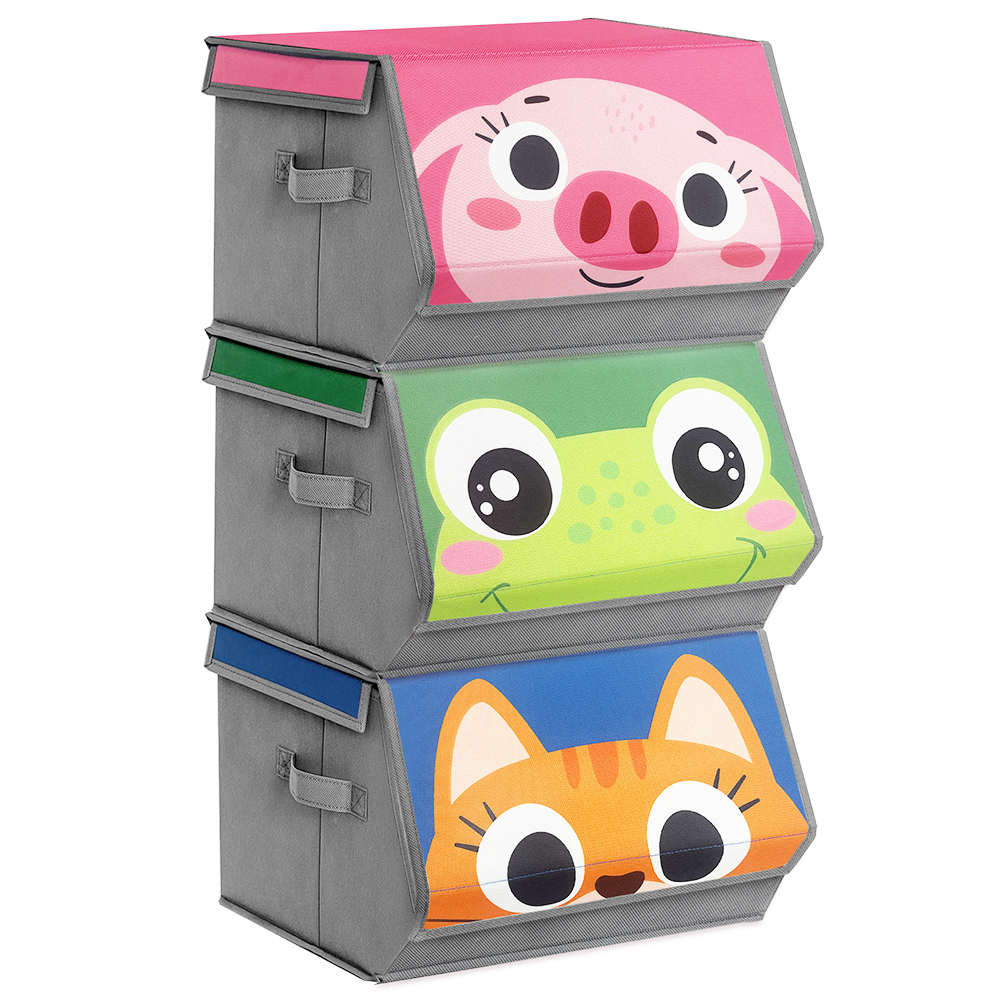
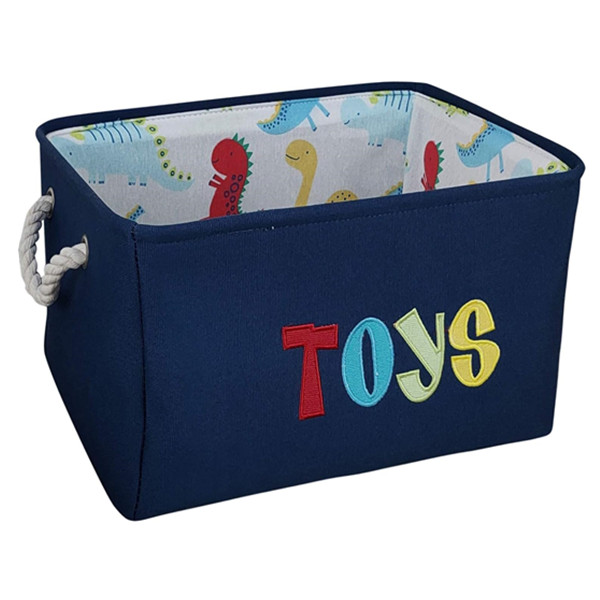
Select a durable yet visually appealing fabric for your storage box. Consider factors such as color, pattern, and texture, keeping in mind the room’s decor and the preferences of its intended users.
2 Gathering Supplies
Gather all the necessary supplies, including fabric, thread, sewing machine, scissors, measuring tape, pins, and a fabric marker. Having everything prepared beforehand will streamline the crafting process.
3 Measuring and Cutting Fabric
Measure and cut the fabric pieces according to the desired dimensions of your storage box. Be sure to account for seam allowances and any additional features such as handles or pockets.
4 Sewing the Panels
Begin by sewing the fabric panels together, right sides facing in, to form the basic structure of the box. Use a straight stitch and reinforce the seams for added durability.
5 Adding Reinforcements
To ensure your storage box maintains its shape over time, consider adding reinforcements such as interfacing or fusible fleece to the fabric panels. This will provide extra stability and support.
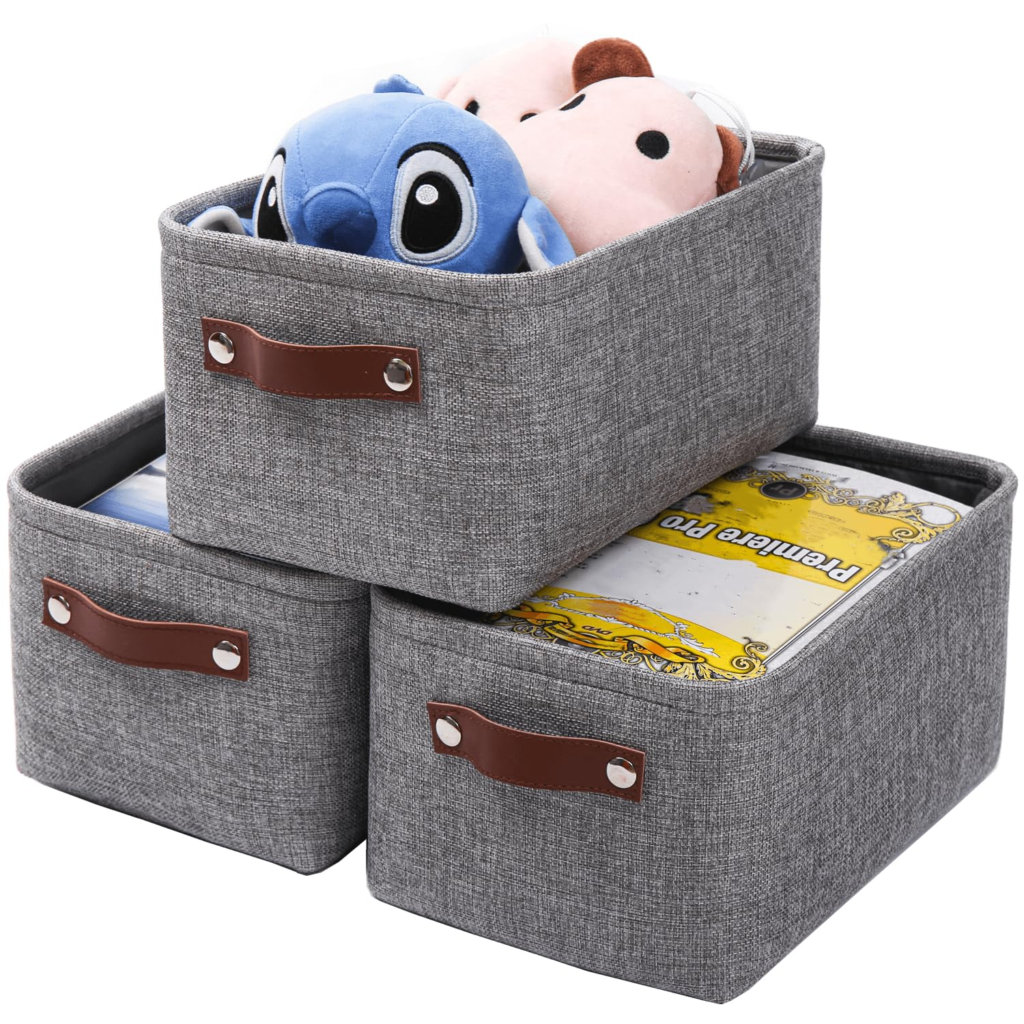
6 Creating Handles or Pockets
If desired, sew on handles or pockets to enhance the functionality of your storage box. Handles make it easier to transport the box, while pockets can hold smaller items such as toys or accessories.
7 Assembling the Box
Once all the components are prepared, assemble the box by sewing the remaining edges together. Leave an opening to turn the box right side out and insert any additional reinforcements.
8 Finishing Touches
After turning the box right side out, carefully press the seams and corners to ensure a neat appearance. Topstitch around the edges for a professional finish, and voila – your toy fabric storage box is complete!
By following these steps, you can create a practical and stylish toy fabric storage box that fits seamlessly into your home decor. Not only does it provide a convenient solution for toy organization, but it also allows you to showcase your creativity and sewing skills. Say goodbye to cluttered spaces and hello to functional storage solutions!