Crafting Your Own Fabric Custom Closet Organizer: A Step-by-Step Guide
Designing and building a fabric closet organizer is a delightful journey into personalized storage solutions. As an enthusiast of DIY projects, I’m excited to guide you through the process of creating a custom fabric closet organizer, tailored to your unique needs.
Curious about how to build a fabric closet organizer that combines functionality with a touch of elegance? Let’s explore the steps.
Fabric Custom Closet Organizer: Where Style Meets Organization
Embarking on the creation of a fabric closet organizer adds not just functionality but also a soft touch to your storage space. Say goodbye to clutter and hello to a neatly organized closet. Let’s start weaving your fabric organizer.
If you’re tired of struggling with a chaotic closet and wish to infuse style into your storage solutions, keep reading. I’ll guide you through creating a fabric closet organizer that perfectly suits your space.
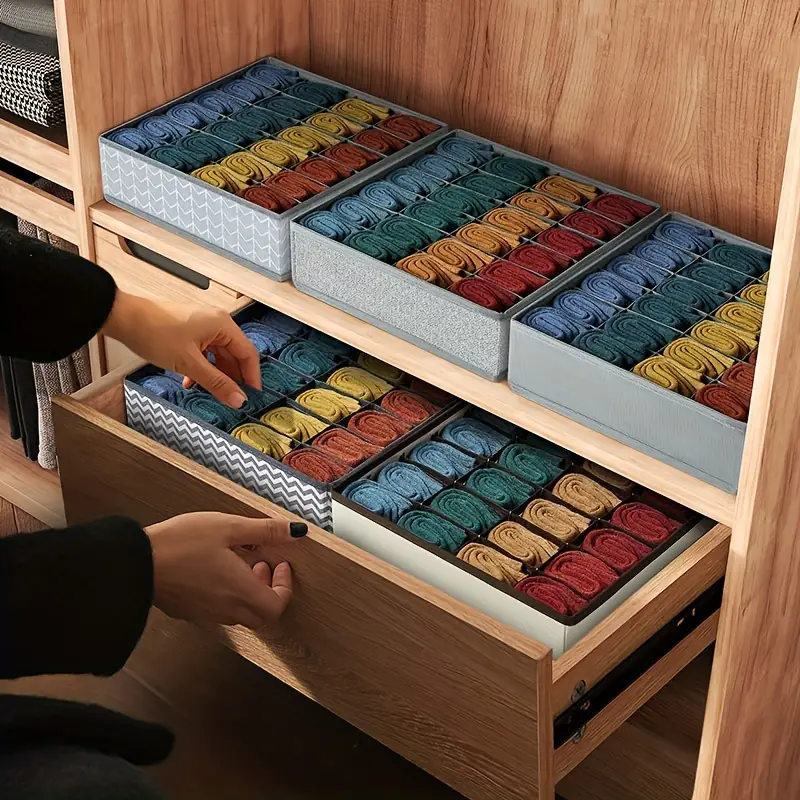
1 Assess Your Space and Fabric Preferences
Before diving into the construction process, take a close look at your closet space. Measure the dimensions and consider your storage needs. Additionally, think about the fabric you’d like to use—something durable and aesthetically pleasing.
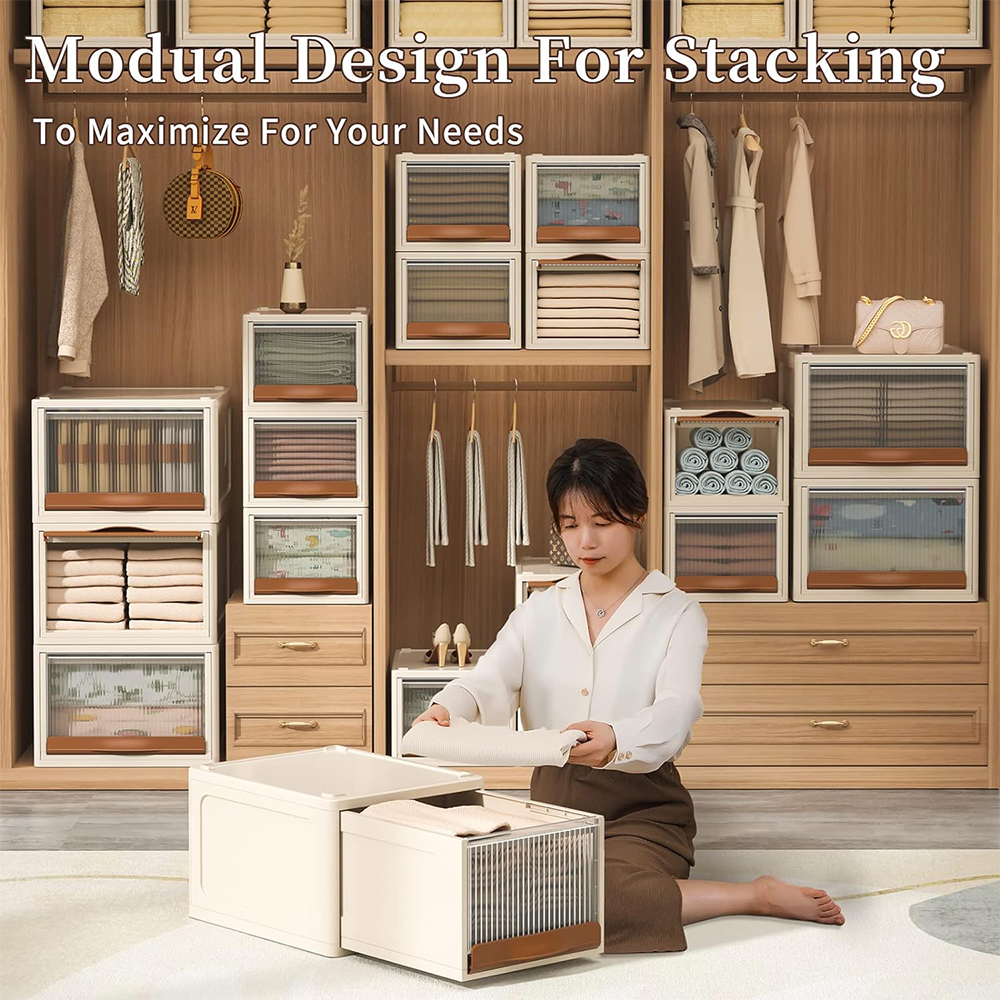
2 Design Your Fabric Organizer
Once you’ve gathered your measurements and chosen your fabric, it’s time to design your fabric closet organizer. Consider the arrangement of shelves, hanging sections, and any additional features like fabric drawers or pouches.
3 Gather Materials and Tools
Create a comprehensive list of materials and tools needed for the project. This might include fabric, a sturdy frame, sewing materials, and any decorative elements you’d like to add.
4 Cut and Prepare Materials
With your materials ready, start cutting according to your design. Pay attention to the fabric, ensuring clean edges. If sewing is involved, follow your design plan precisely.
5 Assemble the Fabric Framework
Begin assembling the fabric framework of your closet organizer. This involves attaching the fabric to the frame, creating the basic structure that will support shelves and hanging sections.
6 Add Fabric Shelves and Compartments
Based on your design, add the fabric shelves, hanging sections, and any fabric drawers or pouches. Double-check measurements to ensure everything aligns perfectly.
7 Install in Your Closet
Once your fabric closet organizer is fully assembled, it’s time to install it in your closet. Take your time to position it correctly and ensure it’s securely attached.
8 Personalize with Fabric Accents
Don’t forget the finishing touches. Consider adding fabric accents, decorative stitching, or even personalized fabric labels. Make it uniquely yours.
Crafting your own fabric closet organizer is not just about organization; it’s a statement of style and individuality. With careful planning and attention to detail, you can create a fabric storage solution that not only declutters your space but adds a touch of elegance to your closet.