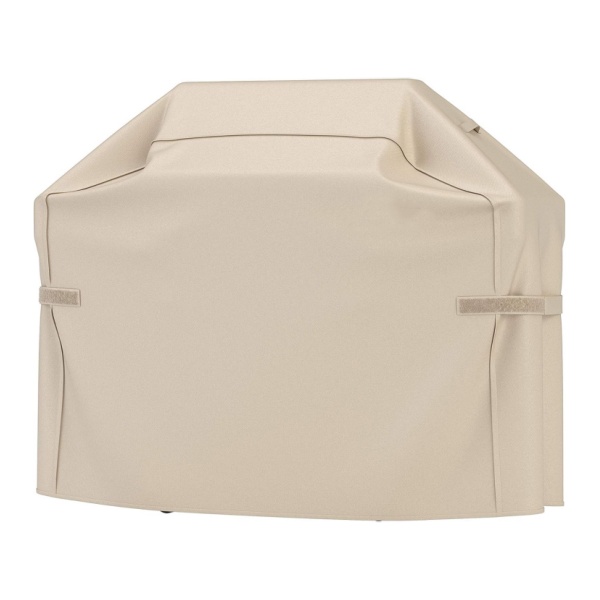
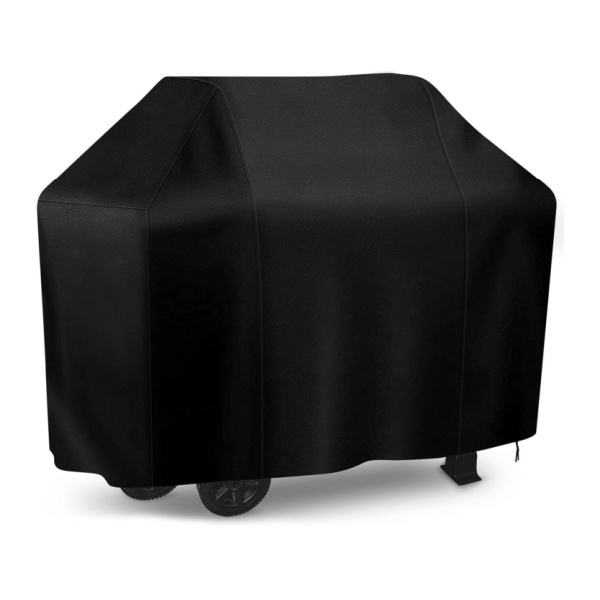
Creating a durable and custom grill cover from a tarp is a cost-effective solution for protecting your outdoor grill from the elements. Whether you’re sourcing materials for a wholesale order or looking for bulk custom options, this simple guide will help you create a high-quality grill cover that is both functional and easy to make. By following these steps, you can produce a reliable product that offers long-lasting protection for grills, even in extreme weather conditions.
1. Select the Right Tarp Material
The first step in making a grill cover from a tarp is choosing the appropriate material. For a durable, long-lasting cover, opt for heavy-duty polyethylene or vinyl tarps. These materials are water-resistant and offer excellent protection against UV rays, rain, and snow. When considering bulk orders, it’s important to choose a material that is both cost-effective and capable of withstanding the rigors of outdoor exposure.
2. Measure Your Grill for a Custom Fit
Once you’ve selected the material, measure your grill to ensure the cover fits snugly. Start by measuring the width, depth, and height of the grill. Add a few extra inches to each dimension to ensure the tarp can fully cover the grill and provide enough room to fold over the edges for secure fastening. Custom sizes are particularly important for wholesalers looking to offer tailored solutions for their clients.
3. Cut the Tarp to Size
Using the measurements you’ve taken, cut the tarp to the desired size using heavy-duty scissors or a utility knife. It’s crucial to cut straight edges to avoid jagged lines that could compromise the tarp’s durability. For bulk production, pre-cutting the tarp into standard sizes can streamline the manufacturing process and minimize waste.
4. Reinforce the Edges
To prevent the edges from fraying, reinforce them by folding them over and securing them with a strong adhesive or sewing them. Adding grommets to the edges is also a good idea, as this allows you to tie the cover securely to the grill. For wholesale clients, offering custom grommet placements can be a valuable feature that adds to the product’s functionality.
5. Add Fastening Mechanisms
Once the edges are reinforced, it’s time to add fastening mechanisms to ensure the grill cover stays in place during windy conditions. You can sew on Velcro strips, use ties, or install snap buttons. Custom options for fastening mechanisms can be a selling point for buyers who need specific solutions for different grill types.
6. Test the Fit and Adjust as Necessary
Before finalizing the grill cover, place it over the grill to ensure a proper fit. Make any necessary adjustments, such as trimming excess material or reinforcing areas that may require additional durability. This step ensures that your product meets the customer’s expectations for both function and appearance.
7. Consider Custom Branding
For wholesalers, adding custom branding such as logos or unique designs to the grill covers can make them more appealing. This can be achieved through printing, embroidery, or using colored tarps that align with your brand. Custom branding adds value and helps your product stand out in the marketplace.
Creating a grill cover from a tarp is a practical and cost-effective solution for protecting outdoor grills. By using high-quality materials, ensuring a custom fit, and reinforcing the cover’s durability, you can create a reliable product that offers excellent protection for grills in all weather conditions. Whether you’re creating a custom order for clients or preparing a bulk shipment, these steps will help you produce a grill cover that is both functional and appealing to your customers.


