If you’re like me, your shoe collection has probably outgrown its current storage situation. Shoes piled up in the corner of your closet or scattered across the floor? Yeah, I’ve been there too. That’s why I decided to make my own closet shoe rack—it’s practical, customizable, and surprisingly easy to build. Whether you’re a DIY newbie or a seasoned crafter, this guide will walk you through the process of creating a shoe rack that fits perfectly in your closet. Let’s get started!
How to Make a Closet Shoe Rack
To make a closet shoe rack, you’ll need basic materials like wood planks, screws, and a drill. Measure your closet space, cut the wood to size, assemble the shelves, and secure them in place. You can customize the design to fit your shoe collection, whether you need space for heels, sneakers, or boots.
1 Measure Your Closet Space
Before you start building, measure the area in your closet where you want the shoe rack to go. Consider the height, width, and depth of the space. For example, if you’re storing mostly sneakers, you’ll need less vertical space than if you’re storing tall boots. Write down the measurements and use them to plan the size of your shoe rack.
2 Choose the Right Materials
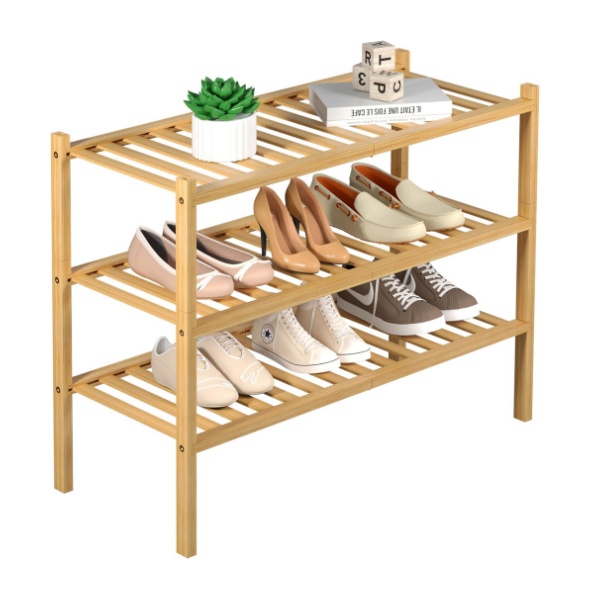
For a sturdy closet shoe rack, opt for materials like plywood or pine boards. These are affordable, easy to work with, and durable enough to hold your shoes. You’ll also need screws, a drill, sandpaper, and a saw (or you can have the wood cut at the store). If you want a polished look, consider painting or staining the wood.
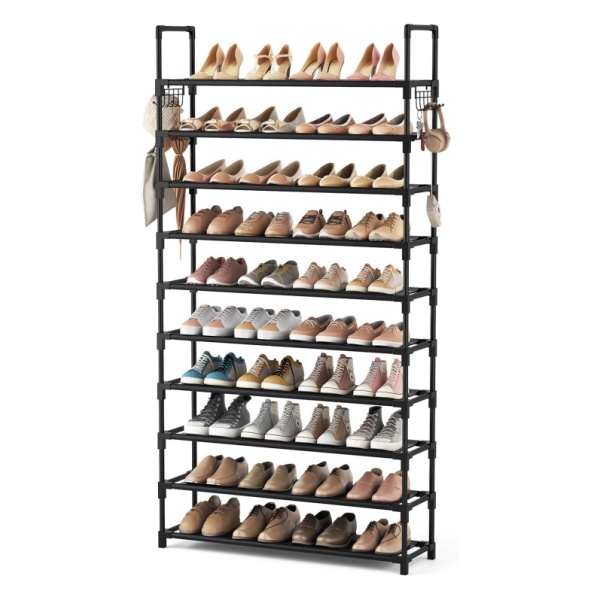
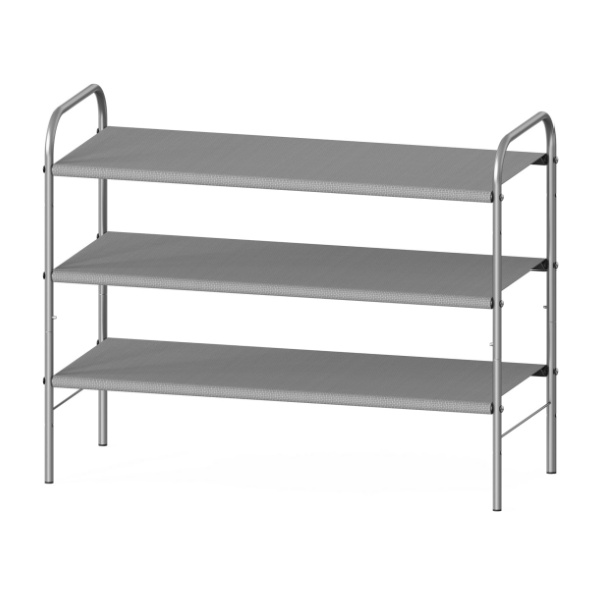
3 Design Your Shoe Rack Layout
Think about how many shoes you need to store and how you want them organized. A simple design might include 3-4 shelves, while a more advanced design could feature angled shelves or cubbies. Sketch out your design on paper, noting the dimensions for each shelf. This will help you visualize the final product and avoid mistakes during assembly.

4 Cut the Wood to Size
Using your measurements, cut the wood into pieces for the shelves and supports. If you’re not comfortable using a saw, most hardware stores offer cutting services. Sand the edges of the wood to prevent splinters and ensure a smooth finish.
5 Assemble the Shelves
Start by attaching the side supports to the base of the shoe rack. Then, add the shelves one by one, securing them with screws. Use a level to make sure each shelf is even. If you’re building a freestanding rack, add a back panel for extra stability.
6 Install the Shoe Rack in Your Closet
Once the shoe rack is assembled, place it in your closet. If you’re mounting it to the wall, use brackets to secure it in place. For a freestanding rack, make sure it’s stable and won’t tip over. Adjust the shelves as needed to fit your shoes perfectly.
7 Organize Your Shoes
Now for the fun part—filling your new shoe rack! Arrange your shoes by type, color, or frequency of use. Heels and boots can go on taller shelves, while flats and sneakers fit nicely on shorter ones. This is your chance to create a closet that’s both functional and visually appealing.
Building a closet shoe rack is a simple and rewarding project that can transform your storage space. With just a few materials and some basic tools, you can create a custom solution that keeps your shoes organized and easy to access. So, grab your tools and get started—your closet (and your shoes) will thank you!