Installing a back seat organizer is a relatively simple process. Here’s a step-by-step guide to help you:
Materials Needed:
– Back seat organizer
– Straps or hooks (if required)
– Screwdriver (if required)
Steps:
1. Choose the Location:
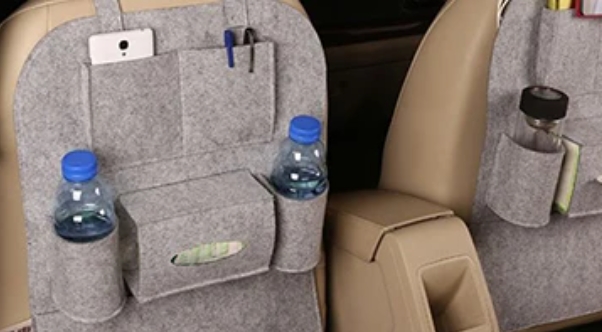
Decide where you want to install the back seat organizer. Typically, it hangs over the back of the front seats.
2. Adjust the Straps (if applicable):
If your organizer comes with adjustable straps, adjust them to the appropriate length to fit the back of your seats.
3. Position the Organizer:
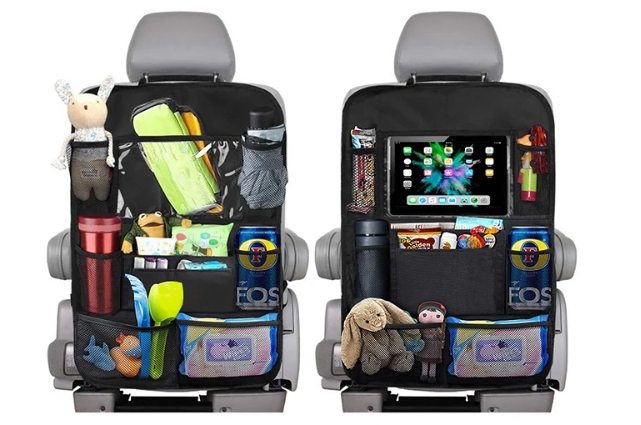
Place the organizer over the back of the seat with the pockets facing towards the back seat.
4. Secure the Top Straps:
If your organizer has straps that loop over the top of the seat, secure them in place. This might involve using clips or hooks to attach them to the headrest poles.
5. Secure the Bottom Straps (if applicable):
Some organizers come with straps that can be attached to the bottom of the seat. If your organizer has these, attach them securely.
6. Check for Stability:
Ensure that the organizer is firmly in place and doesn’t wobble. Adjust the straps if necessary.
7. Load the Organizer:
Now you can start placing items in the pockets and compartments. Keep in mind not to overload it with heavy items, as this might affect its stability.
8. Optional: Screw Attachment (if applicable):
Some organizers come with additional options for more secure attachment. This might involve screwing certain parts of the organizer into the seat. If this is the case, follow the specific instructions provided with your organizer.
Remember, it’s important to follow the manufacturer’s instructions that come with your specific back seat organizer, as different models may have unique installation methods. Always ensure that the organizer is securely attached before use, and periodically check it to make sure it remains stable.